Adding Contact Form to Static Sites
Recently I added a contact form to this website and I want to share how I did it.
When using static site generators we don’t have access to a backend so we need a third party service to get the form submissions. So, I built one to achieve it. I built my own because I want control it’s privacy and customization.
You can find the contact page’s source code in GitHub: https://github.com/berkaycubuk/berkaycubuk.com/blob/main/src/pages/contact.astro
Creating the form HTML
The process is same for all the static site generators. Create a contact page (or just use your index page) and create your form like this:
<form method="POST" action="https://staticninja.com/api/form-submit/[KEY]" class="flex flex-col gap-2">
    <div class="flex flex-col gap-1">
        <label class="text-sm text-neutral-800">Email</label>
        <input class="p-2 rounded border border-neutral-300 outline-none" type="email" name="email" />
    </div>
    <div class="flex flex-col gap-1">
        <label class="text-sm text-neutral-800">Message</label>
        <textarea class="p-2 rounded border border-neutral-300 outline-none"></textarea>
    </div>
    <div>
        <button class="px-4 py-2 bg-neutral-900 text-white">Submit</button>
    </div>
</form>
You can customize it’s style add new fields etc.. Important part is the action attribute of the <form>. When the user submits the form, it will do a POST request to the address that defined in the action. Just copy pasting the code will not work, you need to change the [KEY] to your Static Ninja Forms key.
You can get it by creating an account and creating a new form on it. After that it’ll give you a key to use. And that’s just it. Whem the form gets submitted, you can see the submissions on the dashboard of Static Ninja Forms.
Creating the form from Static Ninja Forms
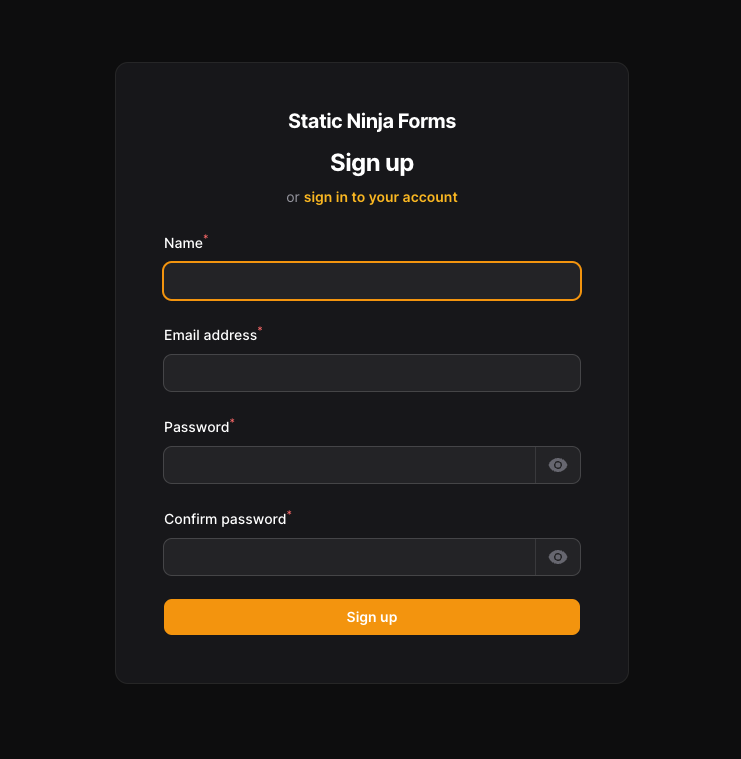
First create an account. Don’t worry it comes with a free plan and it’s enough for your personal projects.

Signing up is easy, it will require you to verify your email address after creating the account.
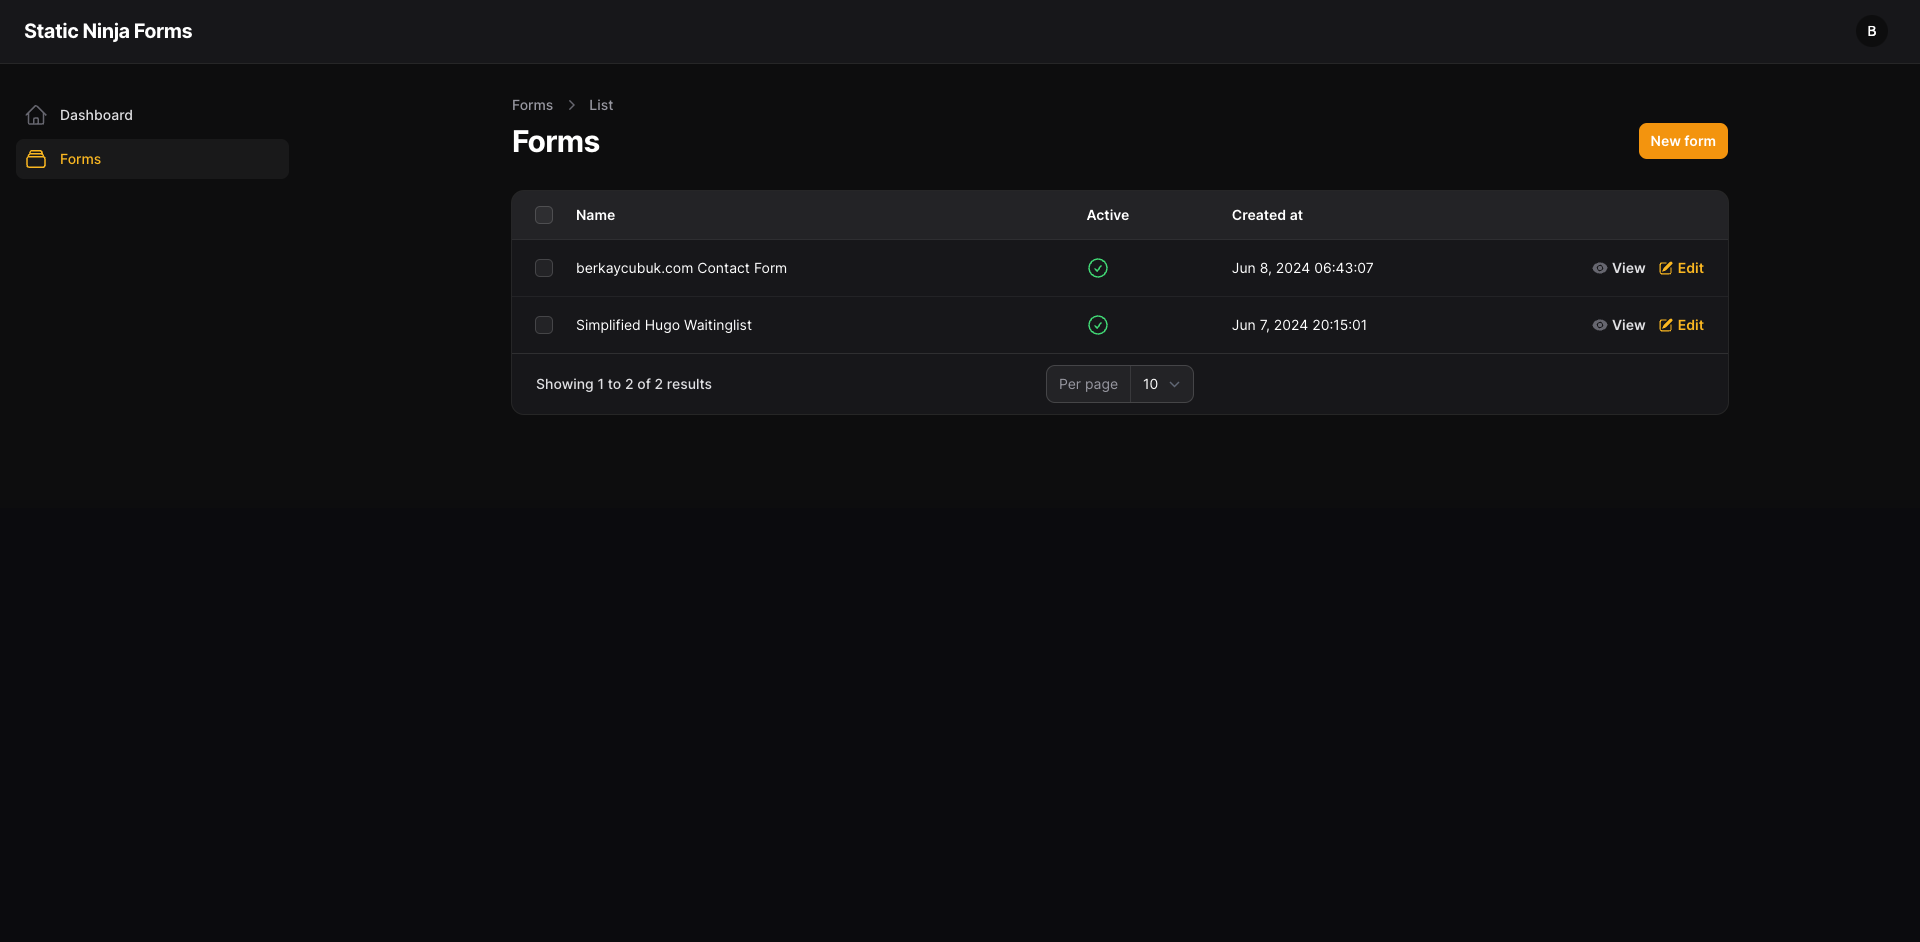
In the Forms page you can see all of your forms and can create a new one by clicking to New form button on top right.
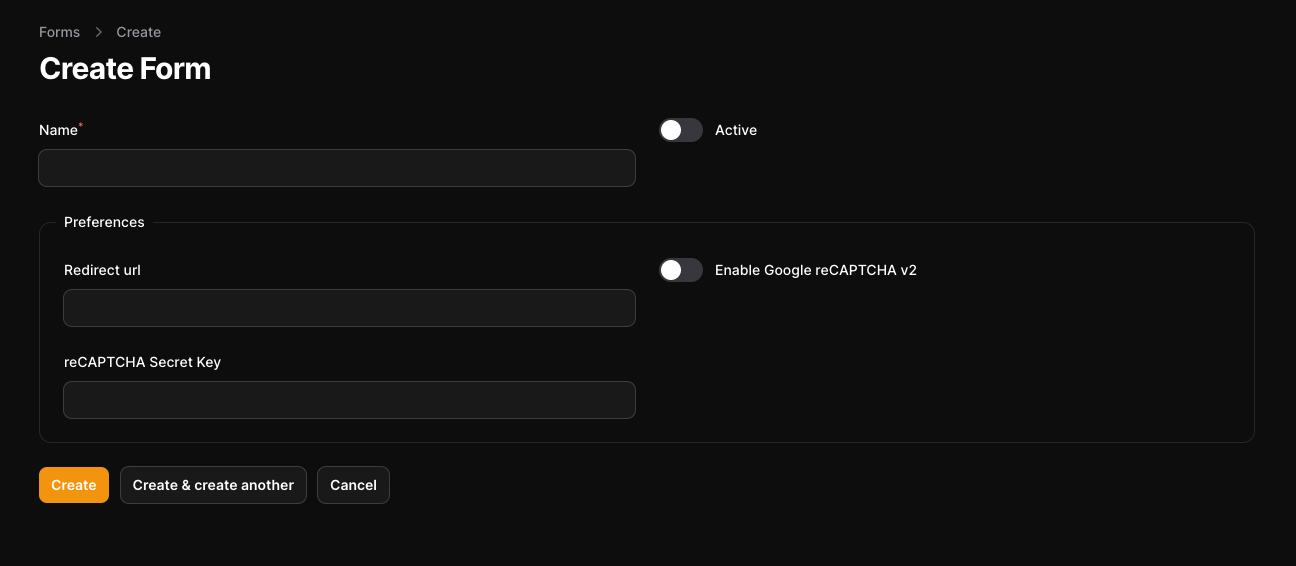
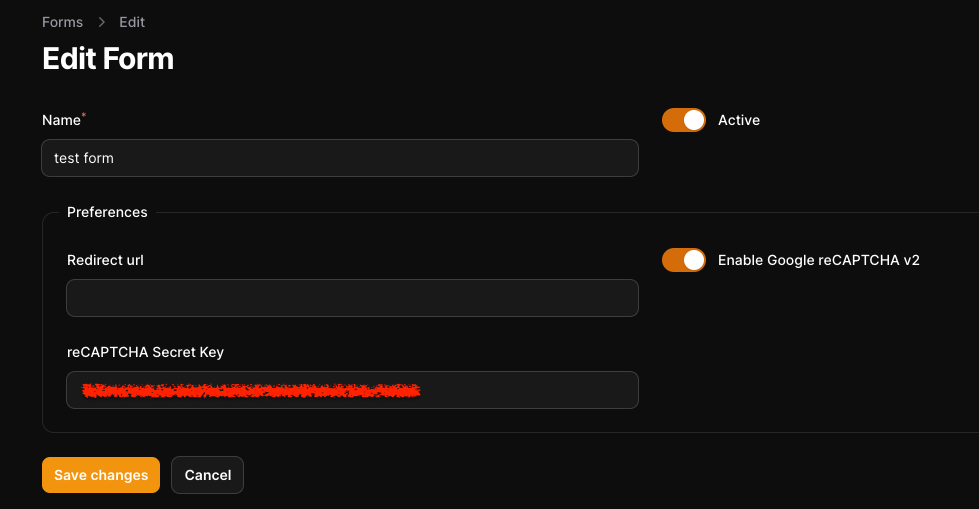
Just give it a name and make it active. If you want, it supports Google reCAPTCHA v2 (we will cover that at the end if you want to use it).
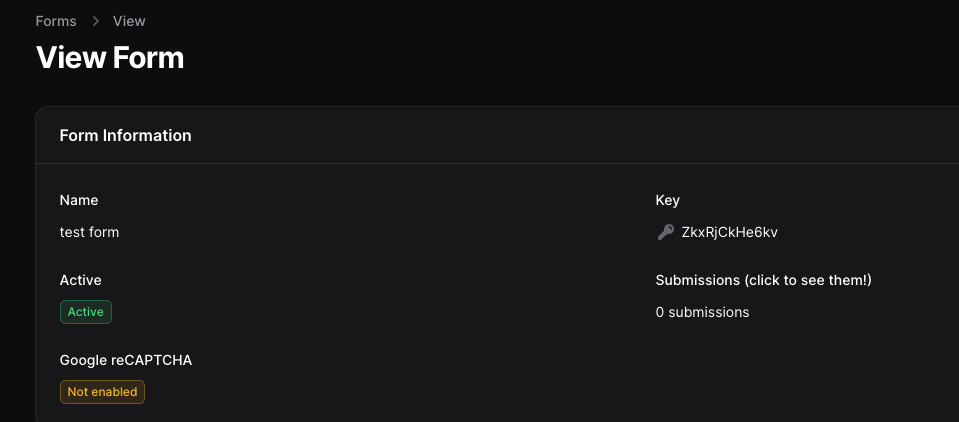
When you click to form details, you can find your key. Place that key into your form and you’re ready to collect submissions.
Adding Google reCAPTCHA to prevent spam
This will not block people to type randomly to the forms but at least can block programmatic submissions.
To use it on your form, go to https://www.google.com/recaptcha/about/ and go to admin console.
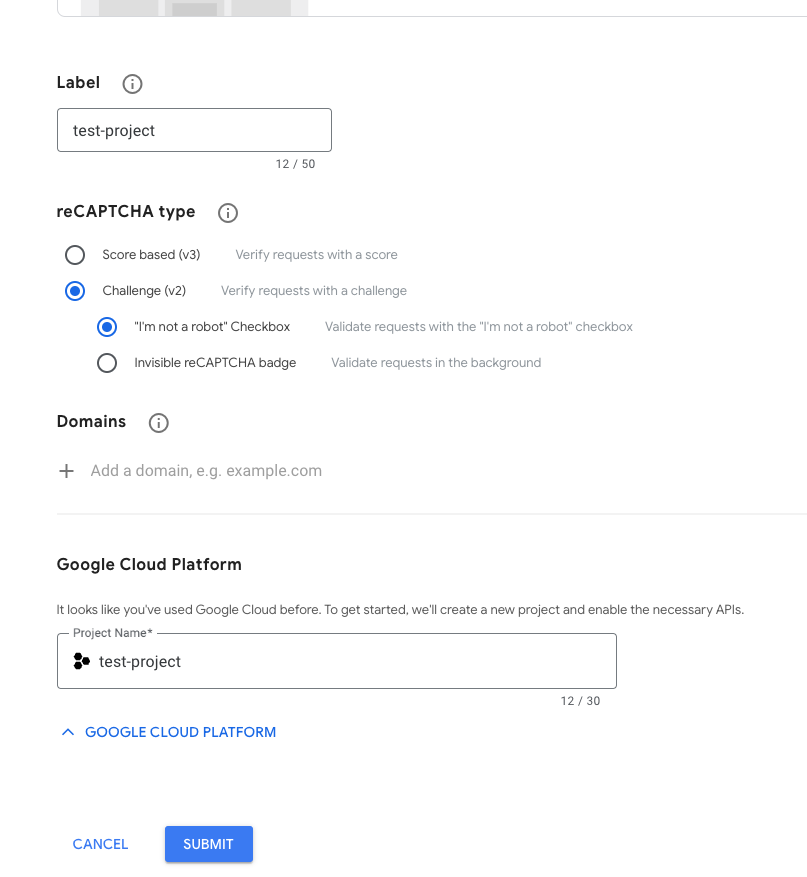
After logging in to the admin console, you can click to the plus icon on the top right.
It may look different from yours. Static Ninja Forms only supports v2 for now, so please select it.
Now go to the captcha settings and find your keys.
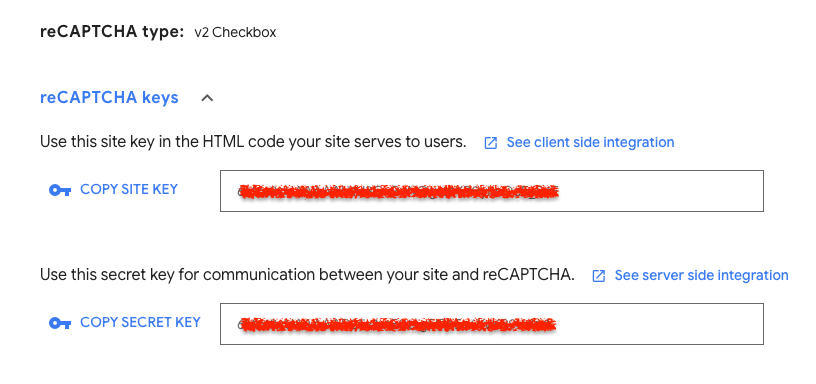
Site key will be publicly available and placed to your HTML code. Secret key is private and you need to place it to the Static Ninja Forms dashboard, so the server can confirm the captcha. Make sure to select Enable Google reCAPTCHA v2.
Lastly, update your form HTML code to include the new captcha.
<script src="https://www.google.com/recaptcha/api.js" async defer></script>

<form method="POST" action="https://staticninja.com/api/form-submit/[KEY]" class="flex flex-col gap-2">
    <div class="flex flex-col gap-1">
        <label class="text-sm text-neutral-800">Email</label>
        <input class="p-2 rounded border border-neutral-300 outline-none" type="email" name="email" />
    </div>
    <div class="flex flex-col gap-1">
        <label class="text-sm text-neutral-800">Message</label>
        <textarea class="p-2 rounded border border-neutral-300 outline-none"></textarea>
    </div>

    <div class="g-recaptcha" data-sitekey="[SITE_KEY]"></div>

    <div>
        <button class="px-4 py-2 bg-neutral-900 text-white">Submit</button>
    </div>
</form>
Simplified Hugo Book
I'm writing a book to simplify Hugo and allow you to create your own theme just from scratch.
Join the waitlistLet's make your dream project real!
Book a call with me and maybe we can combine our forces to make your project a reality.